7c The Belly
What’s to do
The kit came with a prepared belly, the rose already carved. Nice! Except that the plank is far too thick and the rose not finished. So the goal here is to reduce the thickness of the belly to “Renaissance hypothetical” and then do some cleaning up of the rose.
The hypothetical comes from details in Stephan Lundberg’s book “Historical Lute Construction” and I show it here purely for research purposes:

The numbers are showing the thickness of the belly in millimeters. The basics are that the center of the belly board are thinner in the center, thicker at the edges, and thickest at the head and tail. Off we go!
The Belly
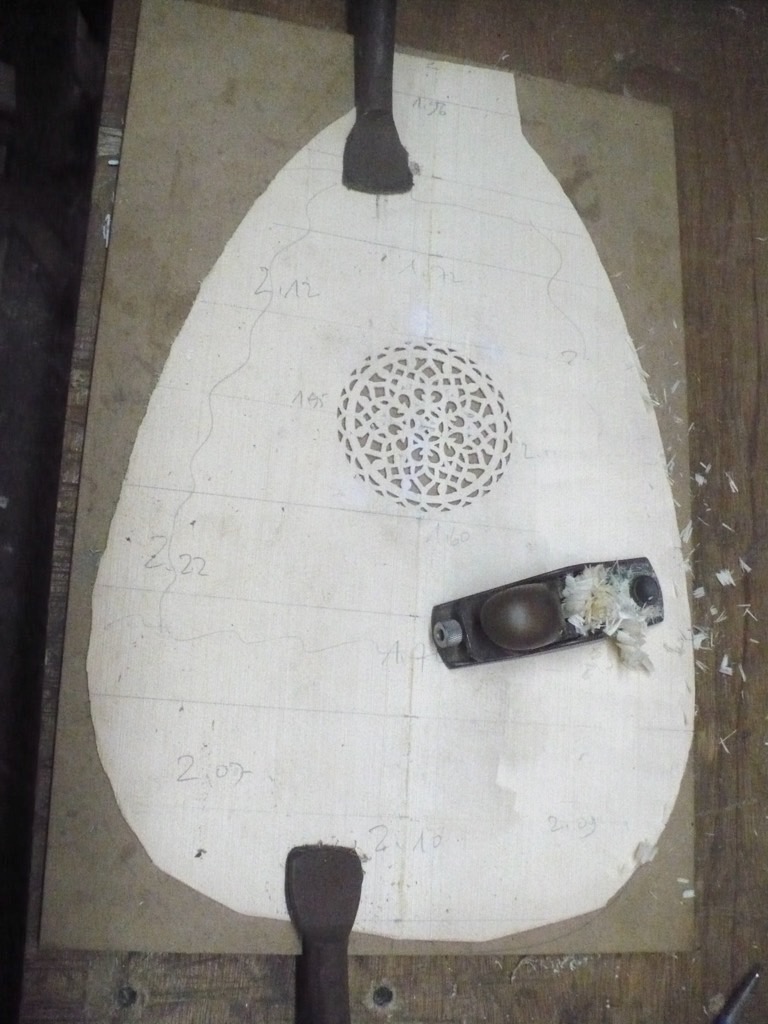
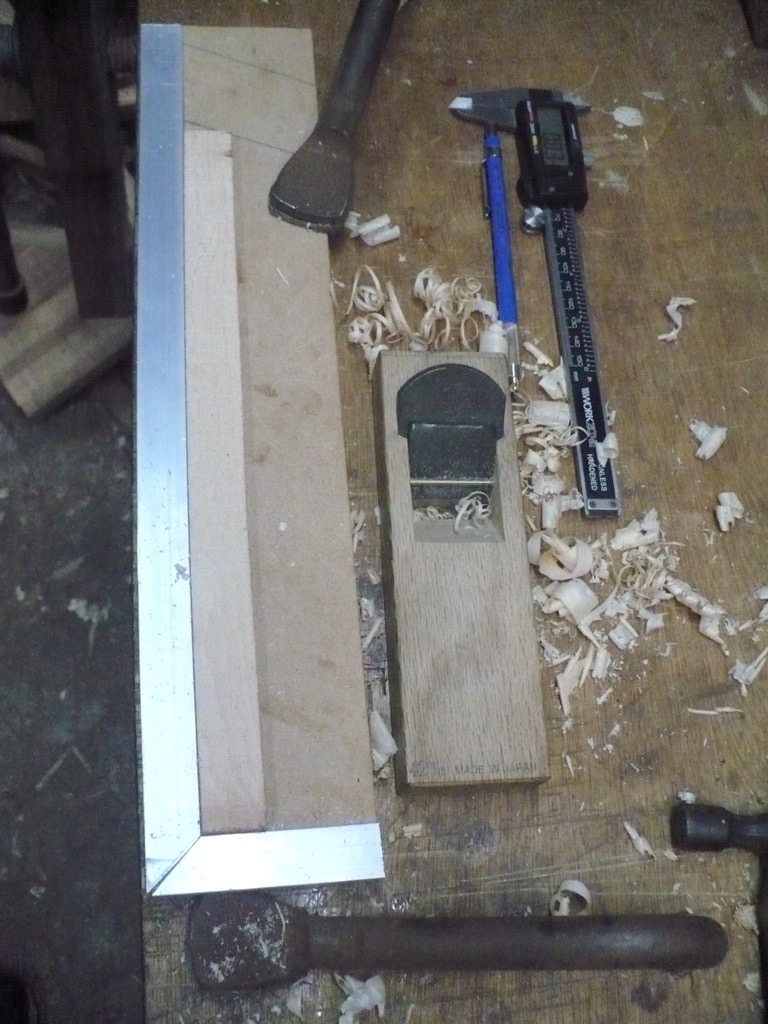
The basic of this process are straight-forward: measure the thickness of belly at various places, mark them on the belly, then have at the belly with a very sharp low-angle block plane (the one shown is one of my favourite tools, a Lie-Nielsen bronze plane model 102, with a 12° blade angle grain); wash and repeat until we get the correct thickness.
Here are the tools:
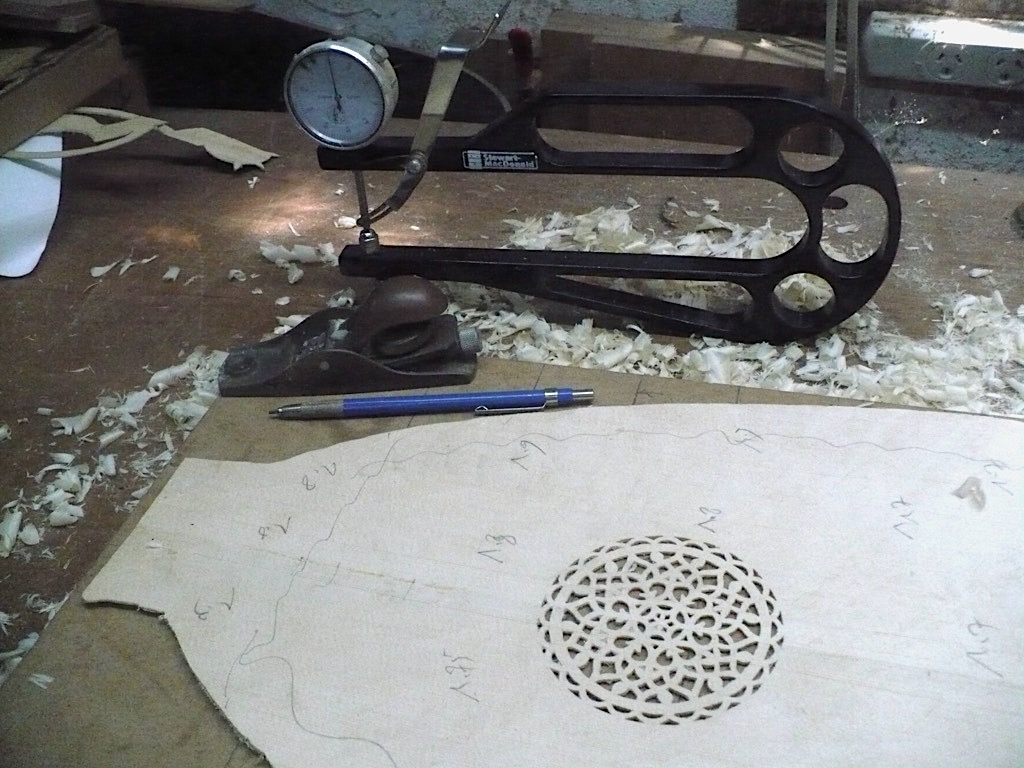
The thickness gauge is from stewmac and while it is possible to make a shop-made version (I did one a few years ago), this version is much more stable and accurate, so better repeatability. Thus:
and

And here is what happened when I attacked the rose. Not perfect however I think it will do:
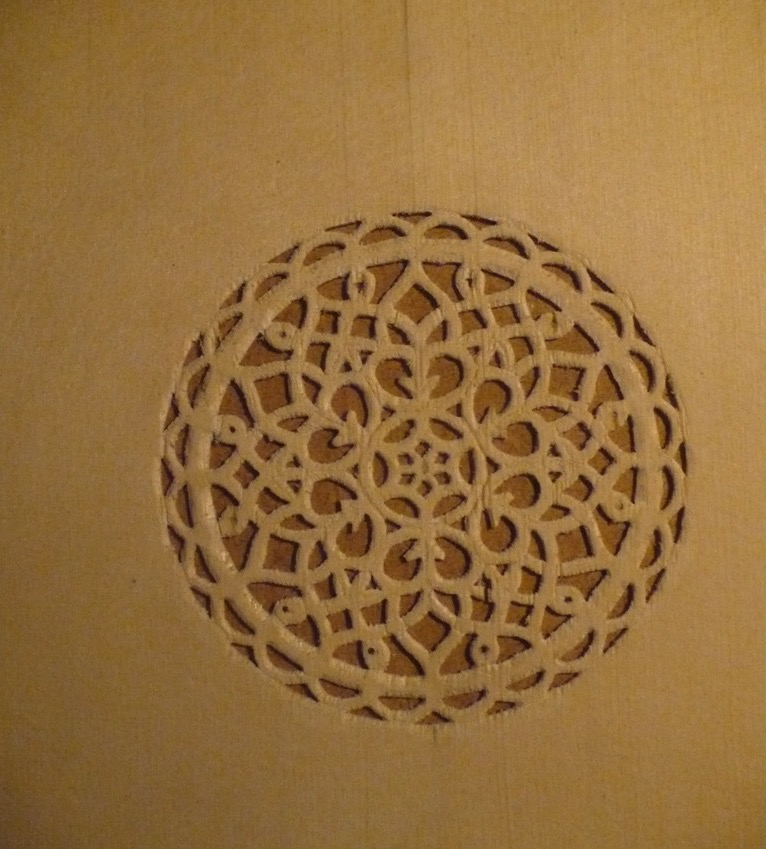
Next time we start working on the belly braces.
Belly Bracing
The kit has a pretty generic idea of what the braces should look like, especially compared with the extant bellies (as shown and described in Lundgren’s book). Here’s what we get given:

The issue here is that all the braces are the same width (around 3.0mm) and the same height (near enough to 19mm). This is simply not how authentic belly bracing works. Okay, so we need to make some new braces. Let’s start with a clean slate

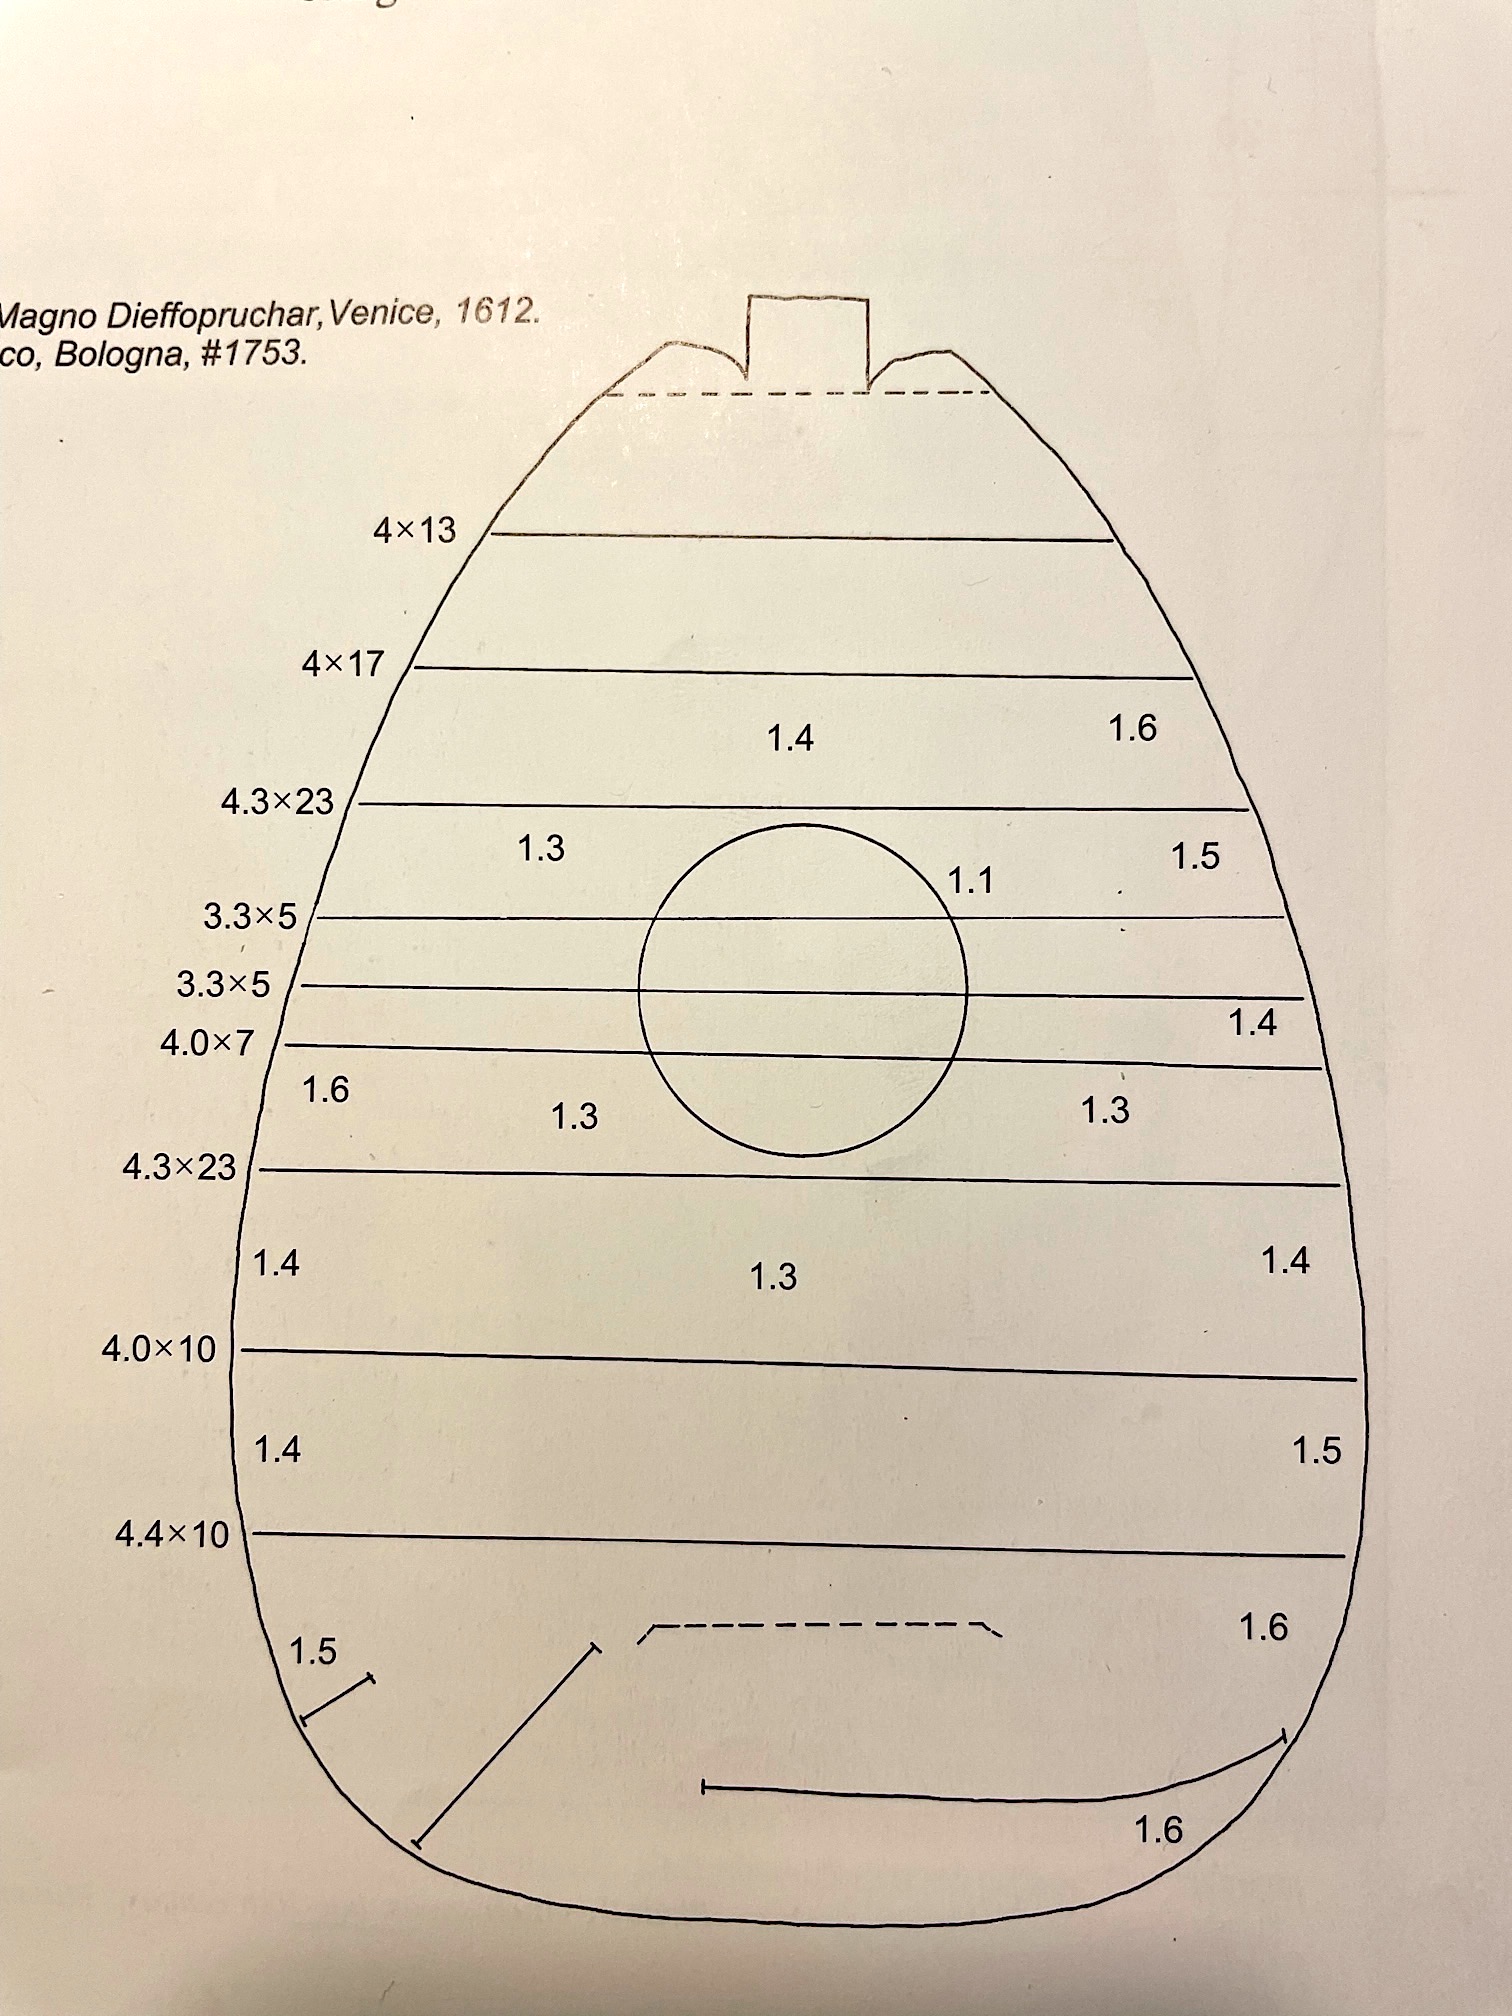
a nice straight spruce board, and a plan, such as this one, taken from Lundgren’s book, when he measures a lute from 1612 made by the Venetian master Mango Dieffopruchar:
A little time on the bandsaw, more time with my various small, sharp planes, some sandpaper, and a pair of calipers, like these ones here:
and, after a while, and using my home-made bending iron to work up the J-bar, I end up with a collection of braces ready for gluing.

Next time I’ll be cranking up the hide glue pot and breaking out my shop-made go-deck.