7c Shell Preparation
What’s to do
In this installment I’ll detail fixing a previous mistake, introduce the belly scoop and the false-belly. These are all small job but give some idea of the kind of details a project like this entails.
I will note that none of these jobs is part of the kit build, though there is a kind of false-belly supplied with the kit, but more on that later.
A quick fix
With the paper gone and the new strips in place it was time to take a closer look at the neck block, that part of the lute where the neck joins to the body. As you might guess, this is an important element of the lute and it pays to get it right. When I looked at it closely it wasn’t quite right.
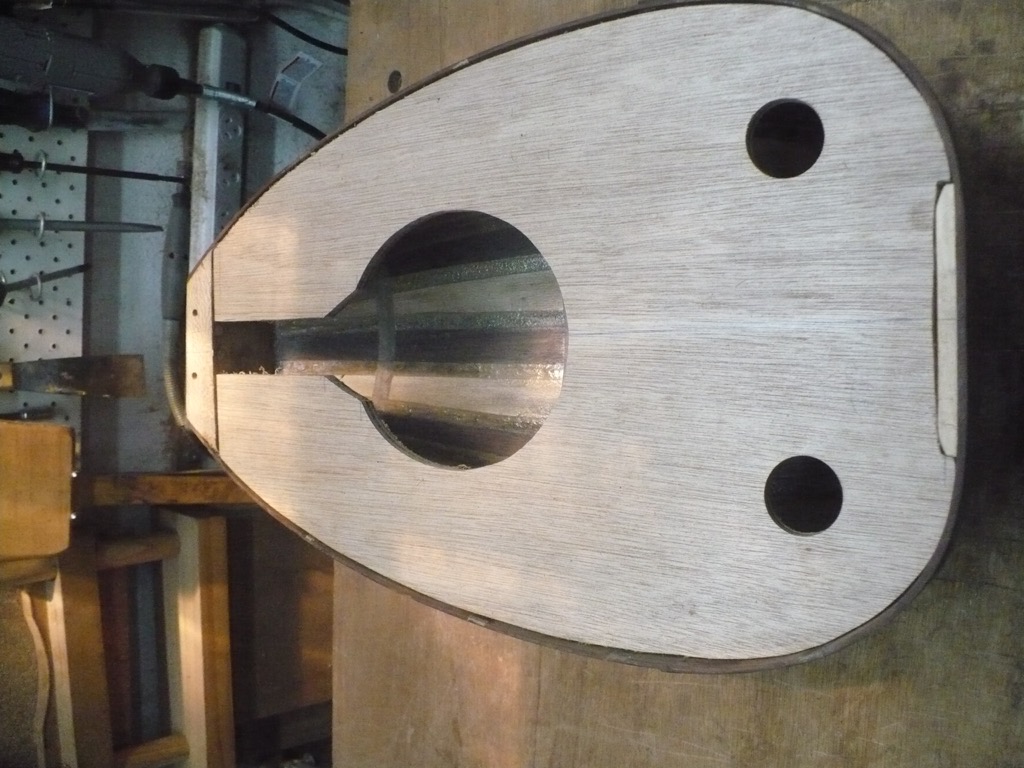
One of the old adages of lute building is that, like boats, there are no straight lines apart from the strings. As we’re going find out, that statement is not quite true. Here’s what we’re dealing with out of the box:
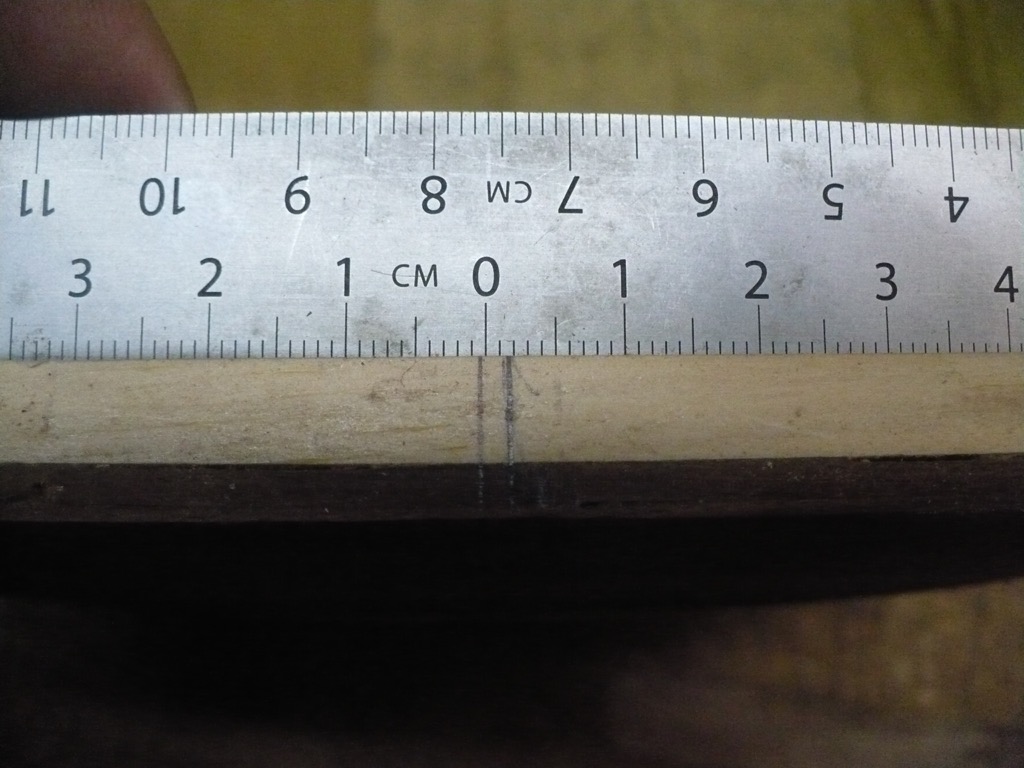
What this is showing is there is an offset, from front to rear, of around 2mm. Nothing I can do about this, it’s just the way the shell is. Go figure.
Now let’s take a closer look at the neck block:
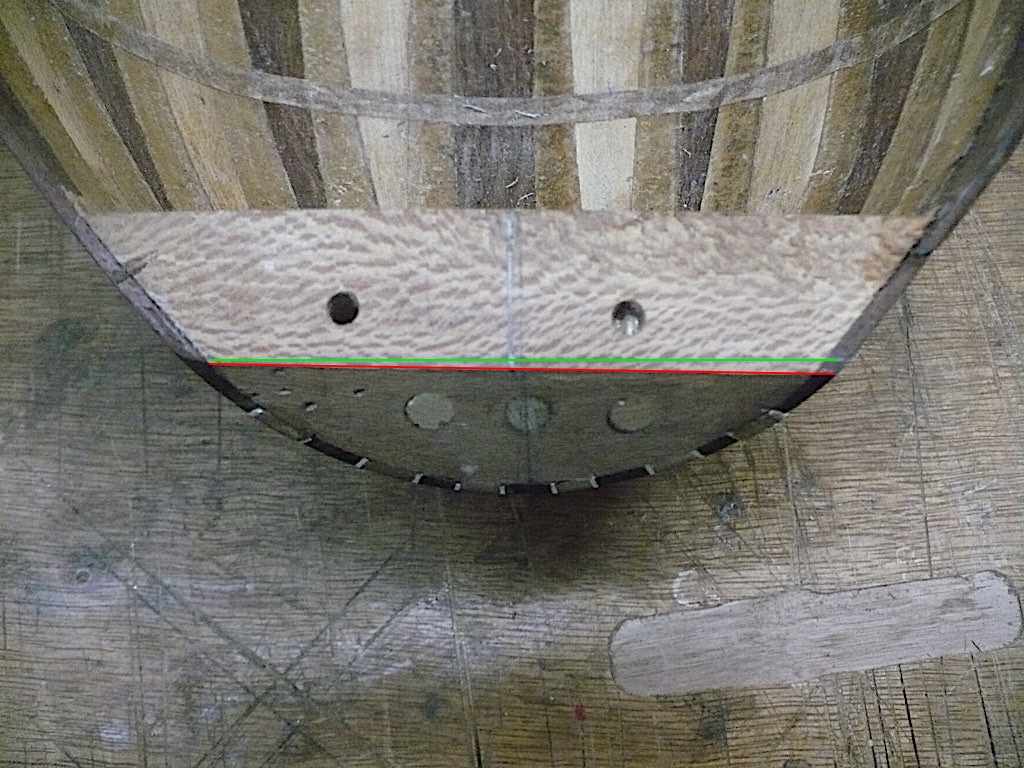
Huh. The green line is where I’d like to be, the red where we are. Gotta fix that so out comes the belt-sander and a few moments later we have this:
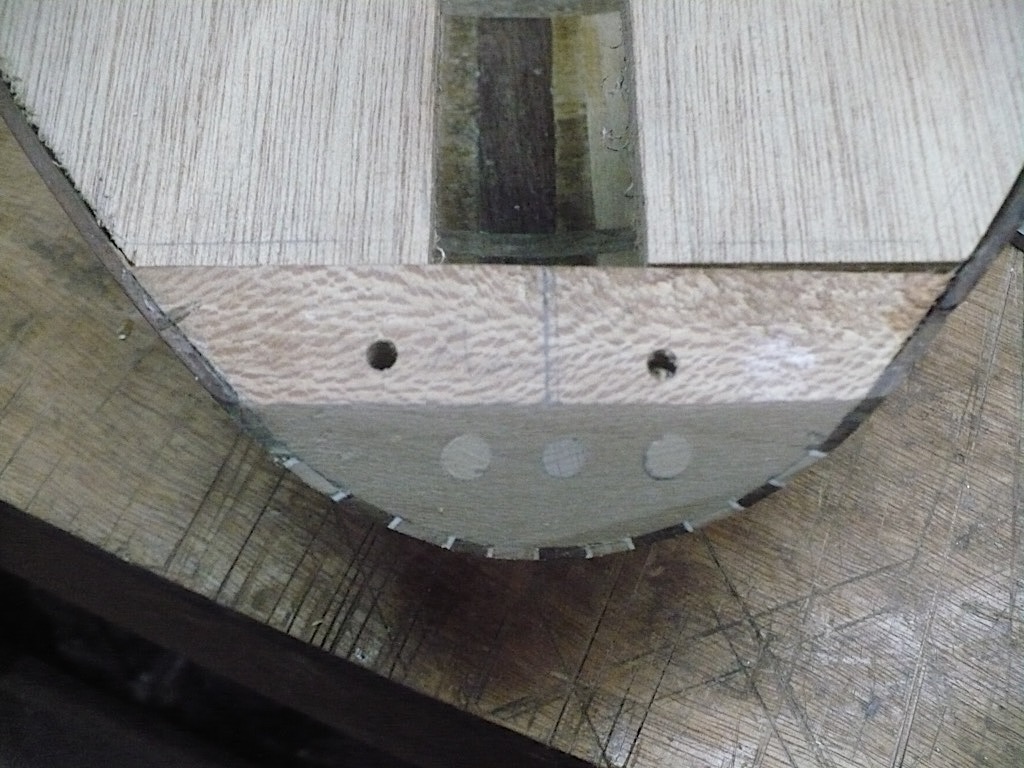
That will do for now.
The Belly Scoop
I’m adding a belly scoop to this lute. The early modern makers didn’t use such a thing but most modern makers do, so what is it? Basically it is a shallow curve cut into the top of the shell that loads the belly (as luthiers call the soundboard) to counteract the pull of the strings.
I can’t do much better than to quote a recent email conversation I had with the wonderful luthier, Travis Carey, on the topic of belly scoops (I’d previously made an idiot of myself on the lute list on this topic, but that’s another matter):
The belly scoop–apparently there is lots of evidence of this in old lutes. It provides a bit more clearance for the fingertips, but it also puts the belly under a useful sort of tension which seems to counteract the tension applied by the strings. Most of the lutes with “flat” bellies that I’ve seen tend to develop ye olde potato chip profile after a while; but bellies with this sort of scooped profile don’t.
What we are talking about is a scoop of no more than 3mm at its deepest. So, how do we do that? First create a handful of wooden spacers and mark their thickness so they are easily identifiable. I then took a 19mm sheet of MDF and marked first a center-line and then the outline of the shell (once it was placed on the line correctly). I then placed the markers along one side and marked the shell with a pencil. After that out comes my small Japanese plane and low-angle block plane and shave it down close to the line. I check it by putting it back on MDF and seeing if the spacer would slide under the formed gap. Like this:

I note on the MDF the placement of the spacers so I can replicate it on the side of the shell. It is careful work but satisfying, with the little curls of walnut flying everywhere. Lots of joy there. Here is it, done now:
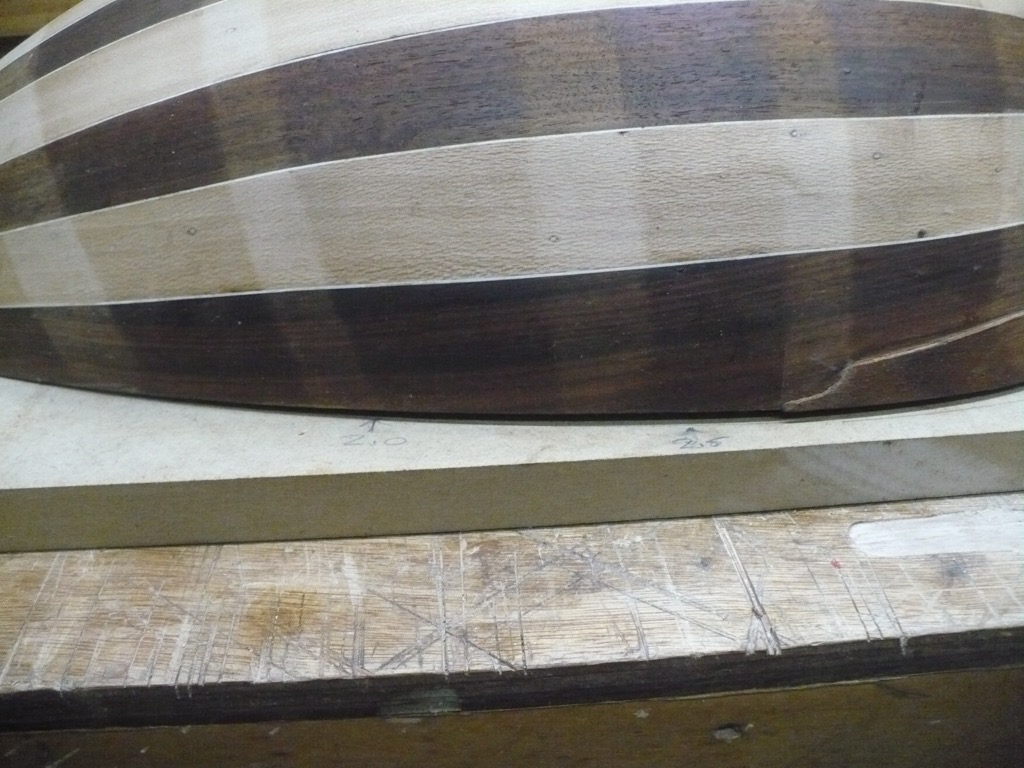
I’ll probably need to tune this curve a touch more when it comes time to fit the belly, but that can, and will, wait.
The false-belly
This one is simple: a piece of plywood that fits inside the belly and provides support for the fragile shell during the construction process. The usual practice is to use the mold, but I don’t have one of them, so I have to make do with an outline and trim it down. Pretty simple and a much better solution than the 3mm roughly-fitted piece of cheap ply supplied with the kit. The design is one I’ve copied from Travis:
Not completely brilliant but it’ll do.
Next time
Time to start looking at the neck…